Create Git repository
- Update source code of front-end
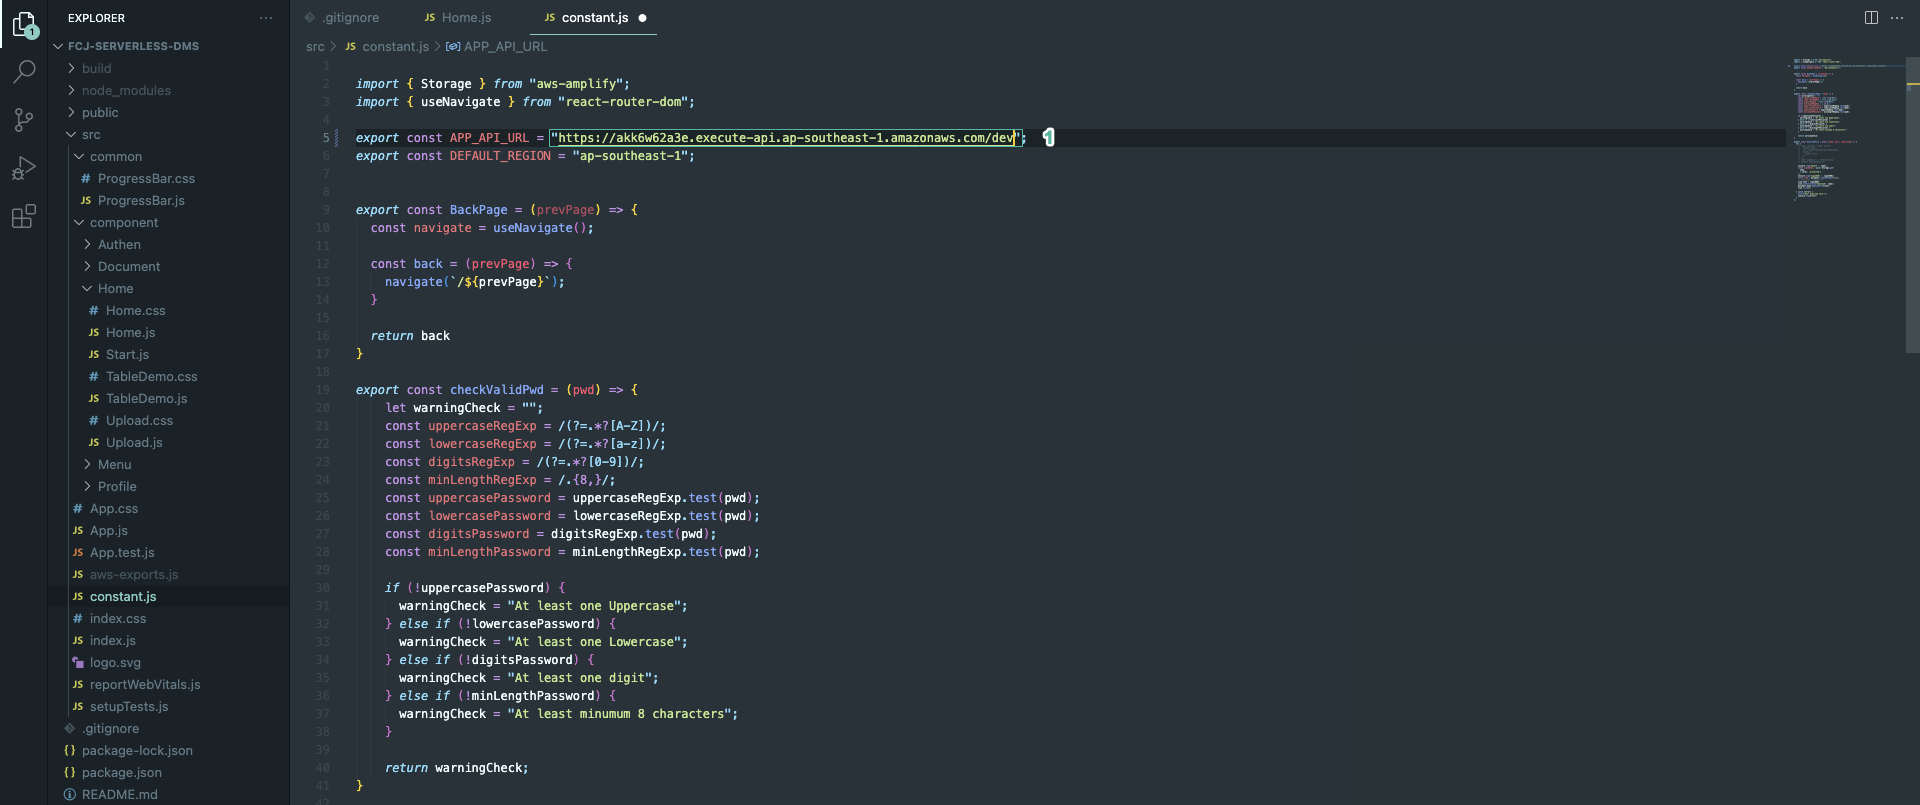
- Open src/constant.js file in source code folder of front-end you downloaded. Next, replace value of APP_API_URL with URL that you recorded from the previous step
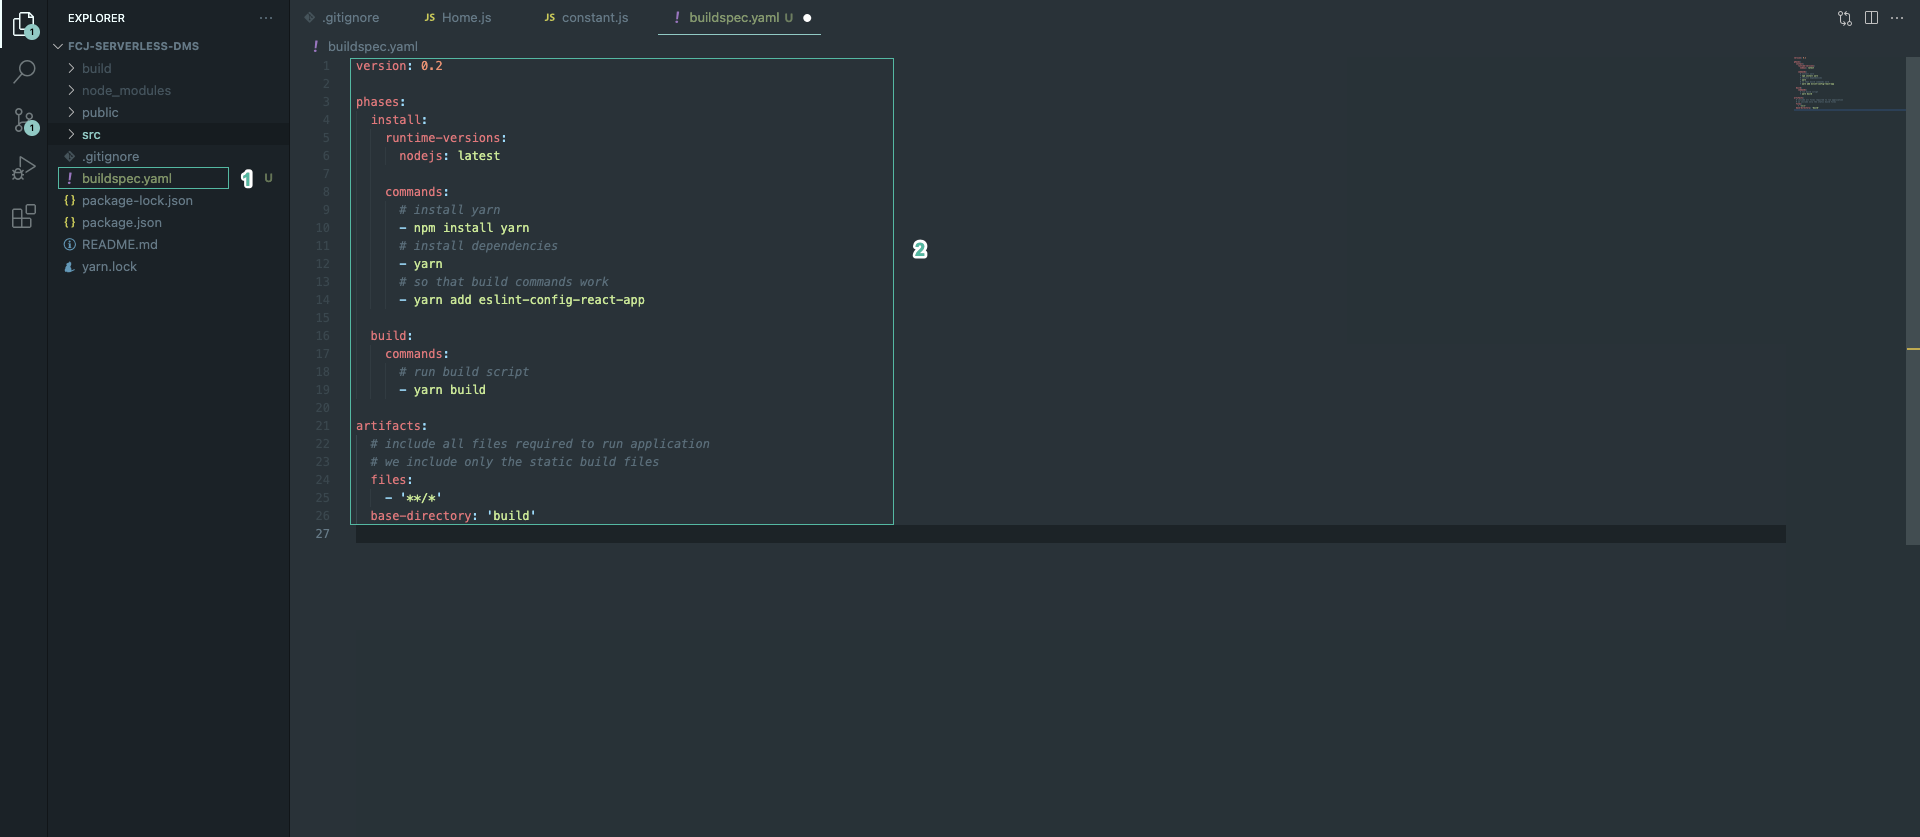
- Create a new buildspect.yaml file. Copy the following script into that file
version: 0.2

phases:
  install:
    runtime-versions:
      nodejs: latest

    commands:
      # install yarn
      - npm install yarn
      # install dependencies
      - yarn
      # so that build commands work
      - yarn add eslint-config-react-app

  build:
    commands:
      # run build script
      - yarn build

artifacts:
  # include all files required to run application
  # we include only the static build files
  files:
    - '**/*'
  base-directory: 'build'
- Run the command
amplify initto initialize a new Amplify project. Answer the questions with the following list:
- Enter a name for the project (
FCJServerlessDMS) - Initialize the project with the above configuration? (Y/n) (
Yes) - Select the authentication method you want to use: (AWS profile)
- Please choose the profile you want to use (default)
- Help improve Amplify CLI by sharing non sensitive configurations on failures (y/N) (N)`
- Run the command
amplify import authto import the Amazon Cognito resource we created into the project. Answer the questions with the following list:
- What type of auth resource do you want to import? · (Cognito User Pool and Identity Pool)
- Select the User Pool you want to import: (cognito-fcj-dms)
- Run the command
amplify import storageto import the bucket we created into the project. Answer the questions with the following list:
- Select from one of the below mentioned services: (S3 bucket - Content (Images, audio, video, etc.))
- Select the S3 Bucket you want to import: · (fcjdmsstore)
- Run the command
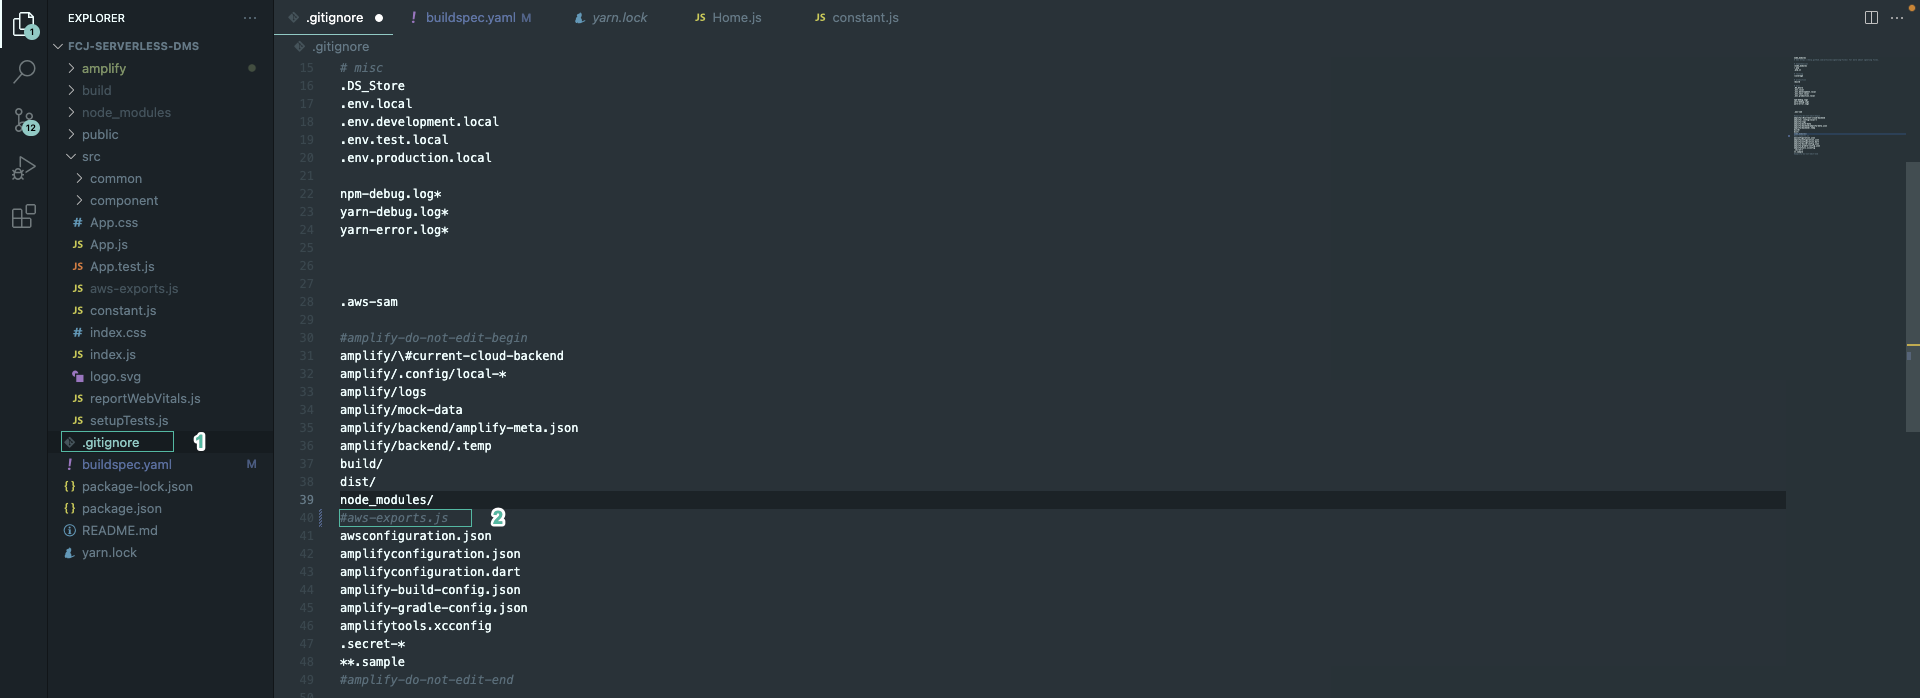
amplify pushto update the cloud resources. - Open the .gitignore file and comment the line that says
aws_exports.js
- Run the following to create CodeCommit repository for front-end code
aws codecommit create-repository --repository-name fcjdms-frontend
You will see output similar to the following
{
    "repositoryMetadata": {
        "accountId": "111111111111",
        "repositoryId": "925fa242-d110-47b4-9ef0-b62815120358",
        "repositoryName": "fcjdms-frontend",
        "lastModifiedDate": "2023-04-10T09:54:38.755000+07:00",
        "creationDate": "2023-04-10T09:54:38.755000+07:00",
        "cloneUrlHttp": "https://git-codecommit.ap-southeast-1.amazonaws.com/v1/repos/fcjdms-frontend",
        "cloneUrlSsh": "ssh://git-codecommit.ap-southeast-1.amazonaws.com/v1/repos/fcjdms-frontend",
        "Arn": "arn:aws:codecommit:ap-southeast-1:111111111111:fcjdms-frontend"
    }
}
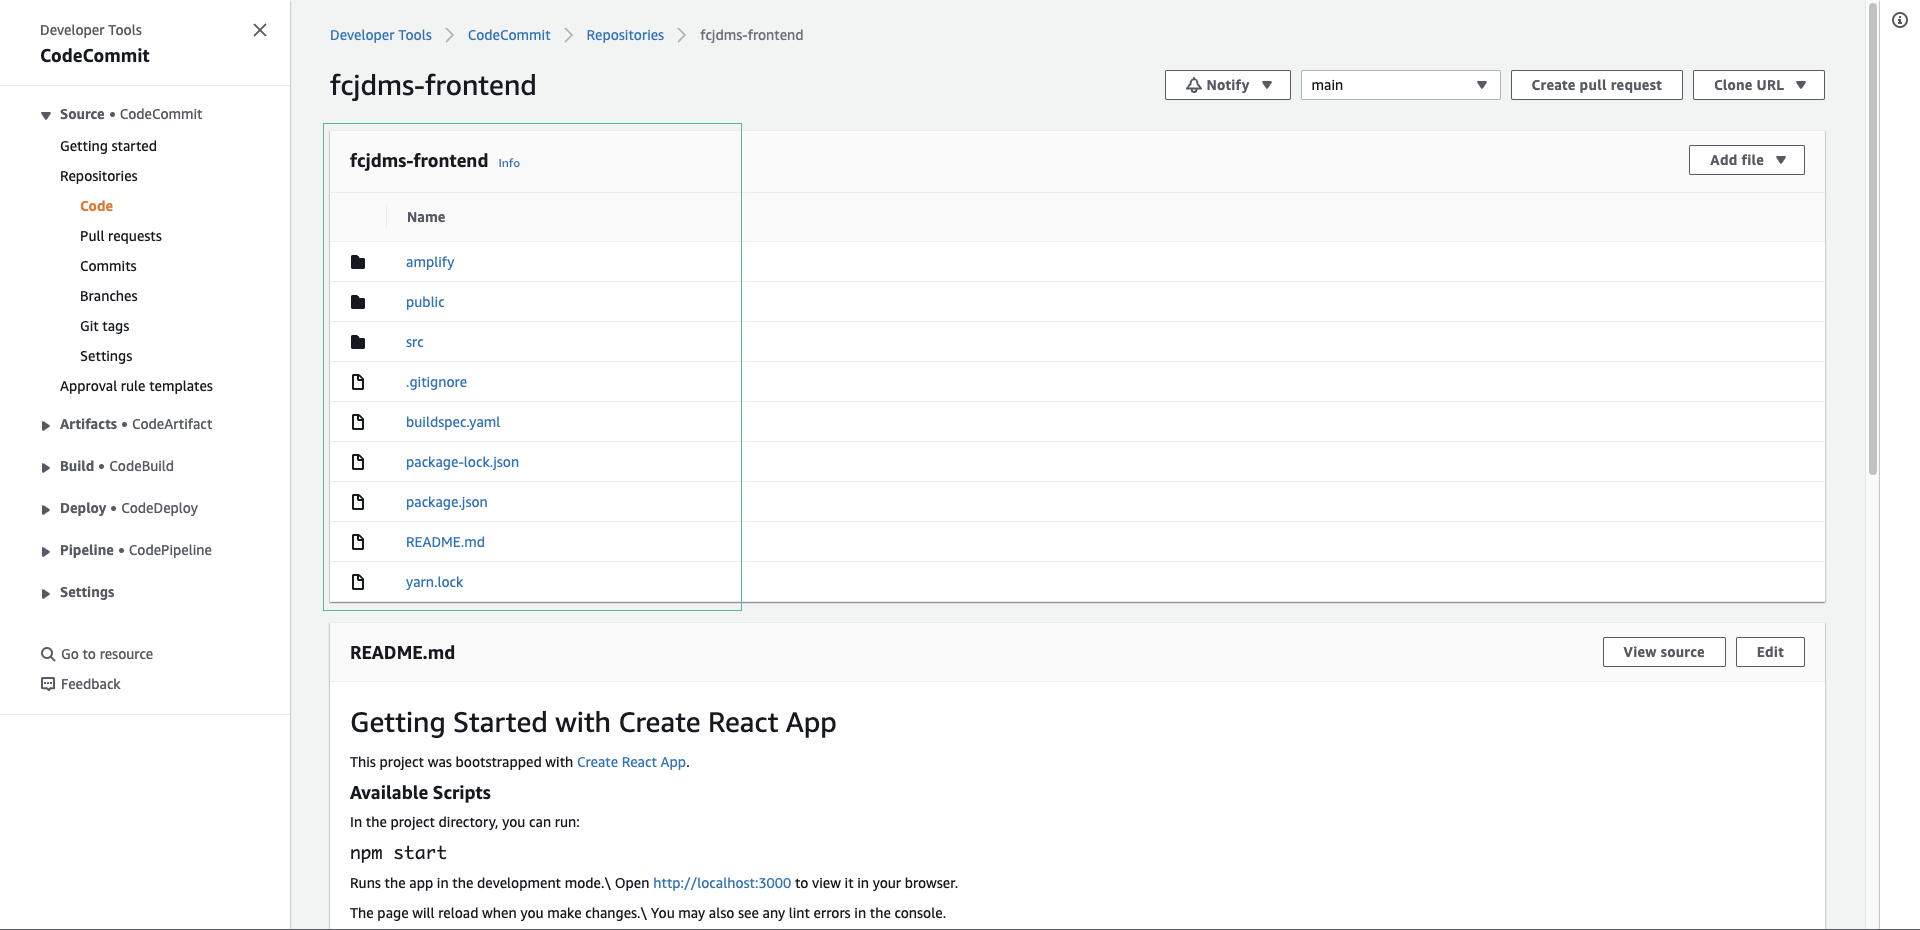
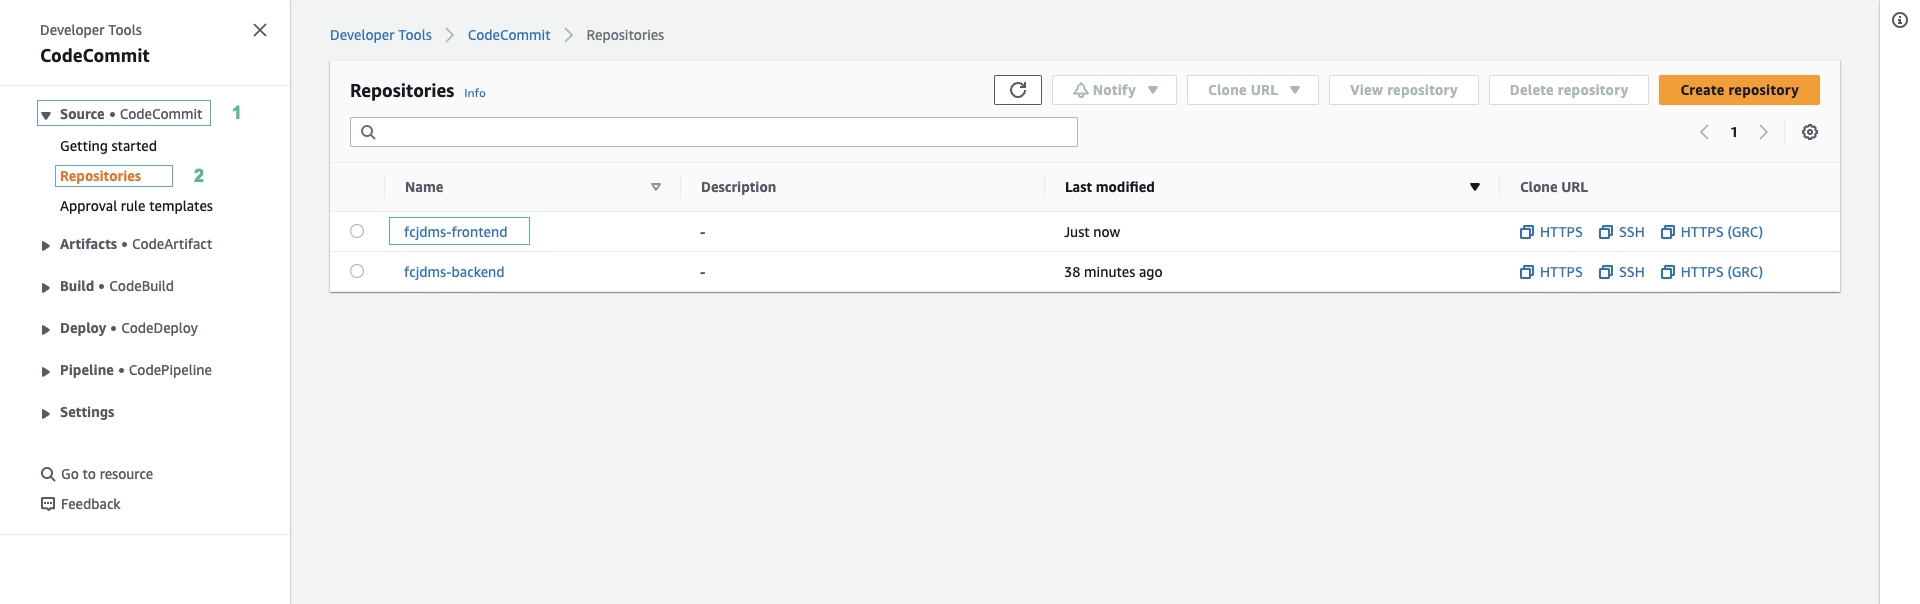
- Open CodeCommit console to check repository
- Run the commands below at the root of the front-end project to initialize a local Git repository, add the code to it.
git init -b main
git add .
git commit -m "Initial commit"
- Add your CodeCommit repository URL as a remote on your local git project.
git remote add origin codecommit://fcj-book-store-frontend
If origin already exists or url is wrong, can remove it by running: git remote rm origin
- Push code to CodeCommit repository by running the following command:
git push -u origin main
- Back to CodeCommit console
- Click fcj-book-store-frontend repository, you will see the code has been uploaded